School website service training and support logo

School website service training and support

School website service training and support

Virtual tour

Use this guide to learn how to add a virtual tour to your school website.

A virtual tour can be added by using script component, adding a hyperlink using rich text editor, or as a link using image component.

Before you start

  • Check if the website has been whitelisted. If it has, you can use the script component (Option 1) to embed the code for the virtual tour.
  • If not, check if the website address (URL) has been included in the sites not whitelisted. 
  • If the website is not listed you need to send in a request to swssupport@detcorpcomms.zendesk.com

Navigate to the homepage of your school website and you are ready to begin.

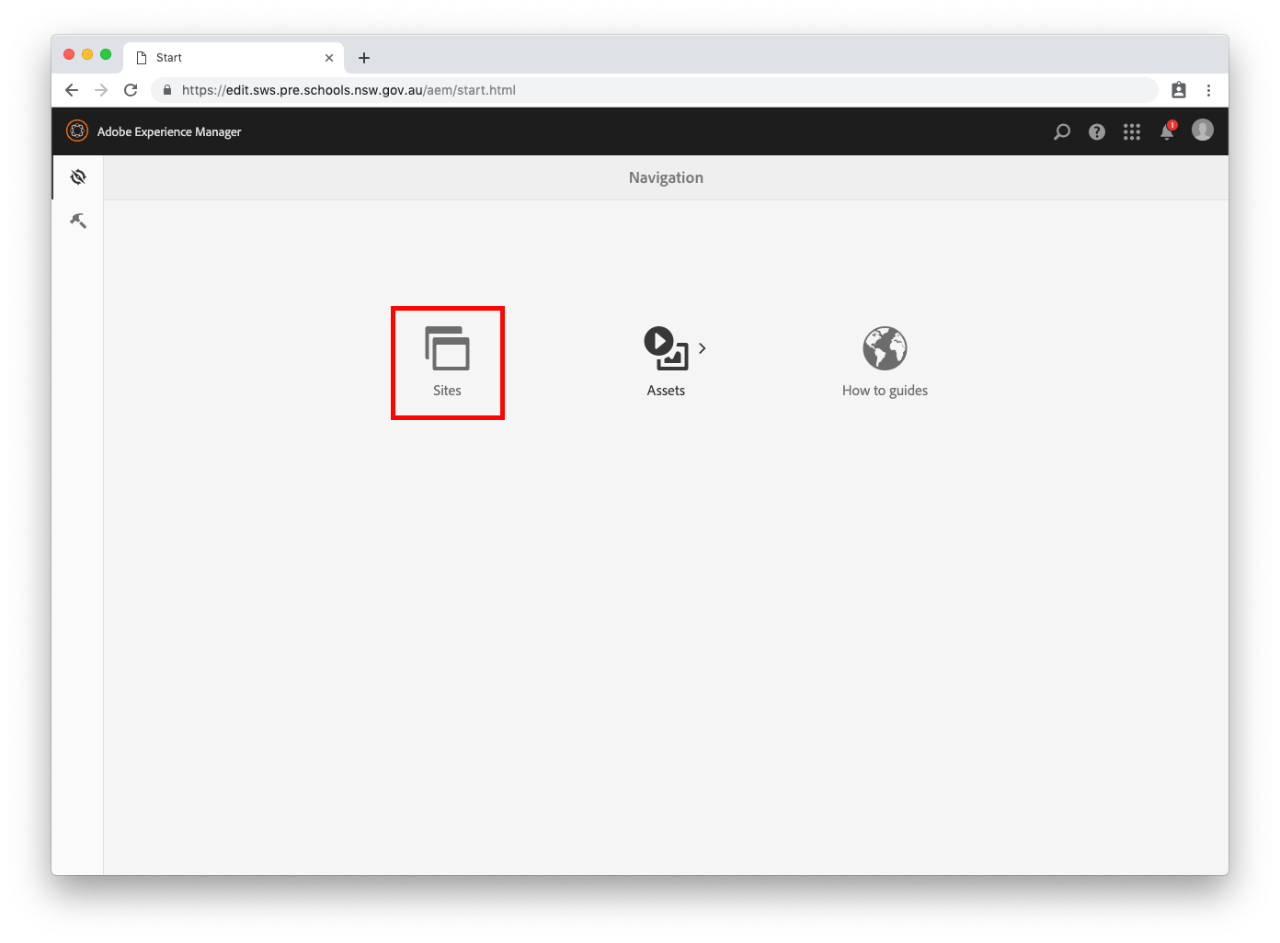
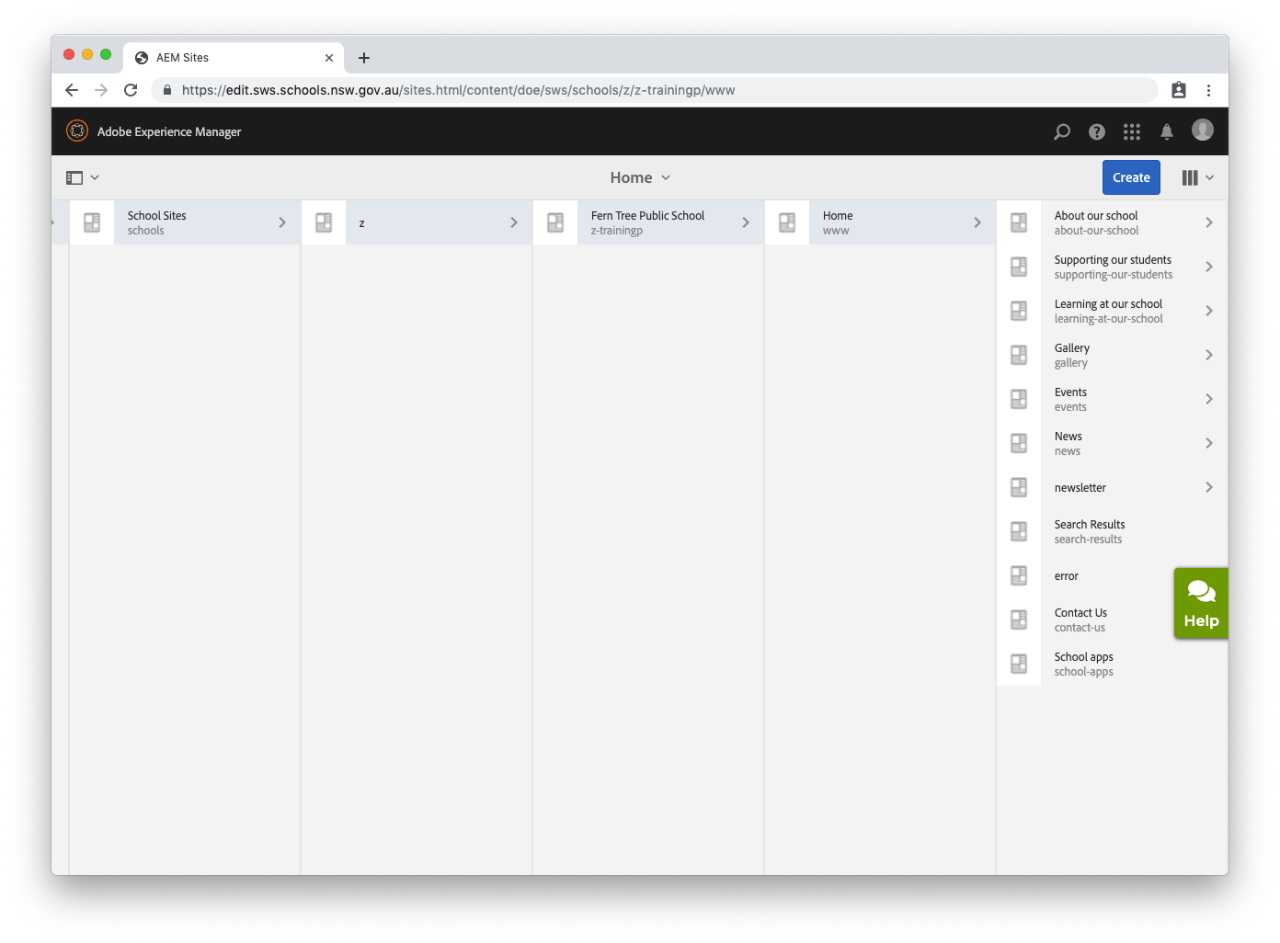
Step 1: Navigate to Home

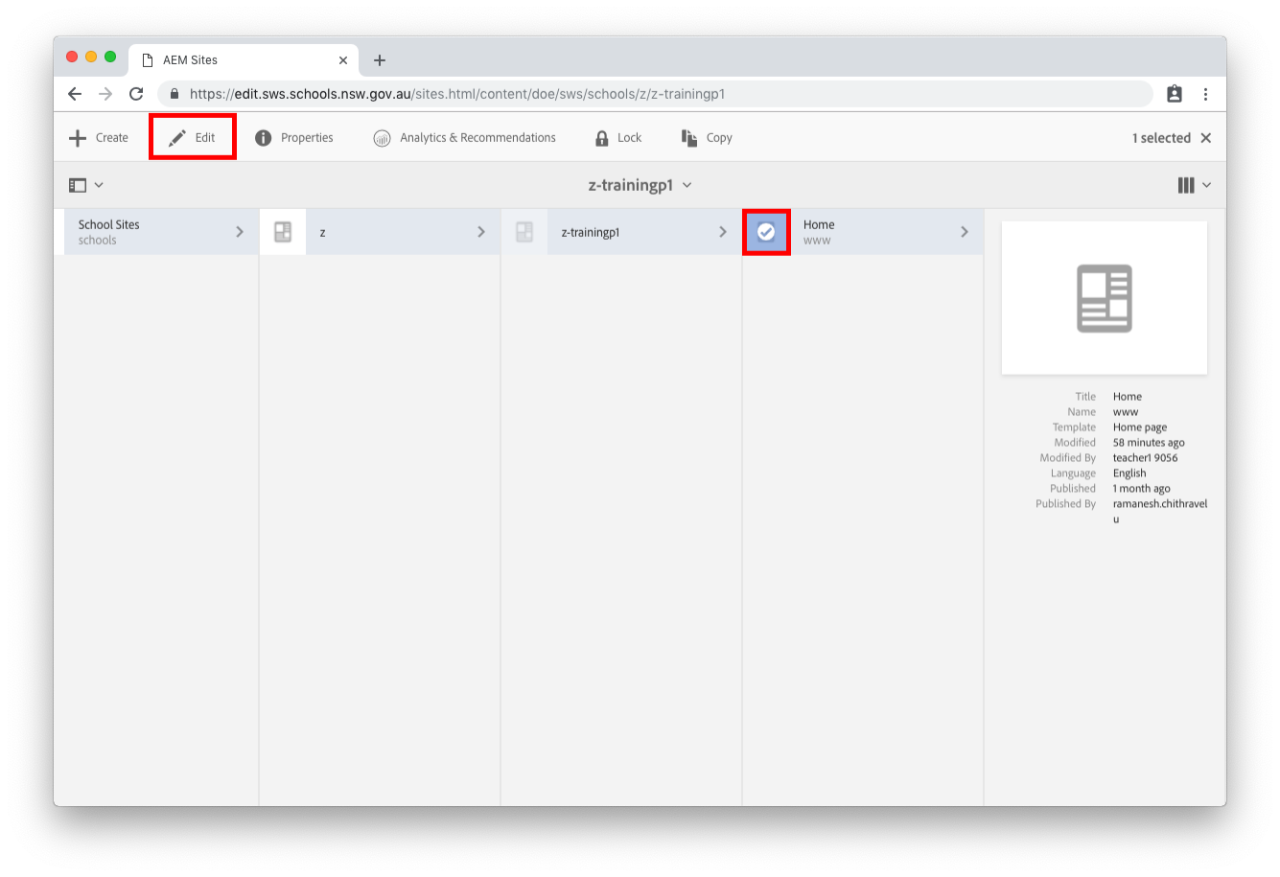
  • Your school's homepage will already be selected.

  • Select the icon to the left of homepage. The tick will appear and your selection will turn blue. 

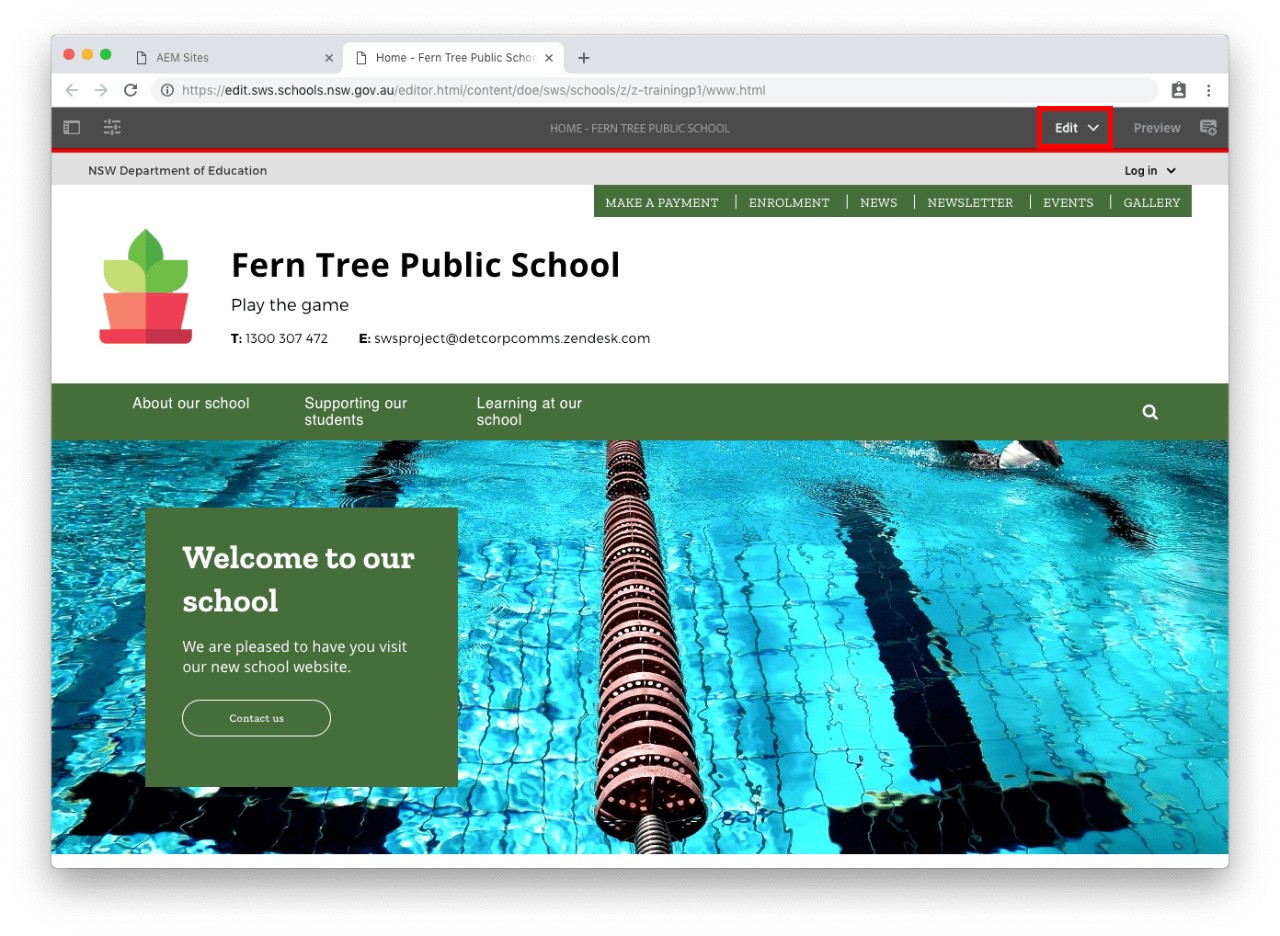
  • Select Edit in the top right of the page. This button is next to Preview.

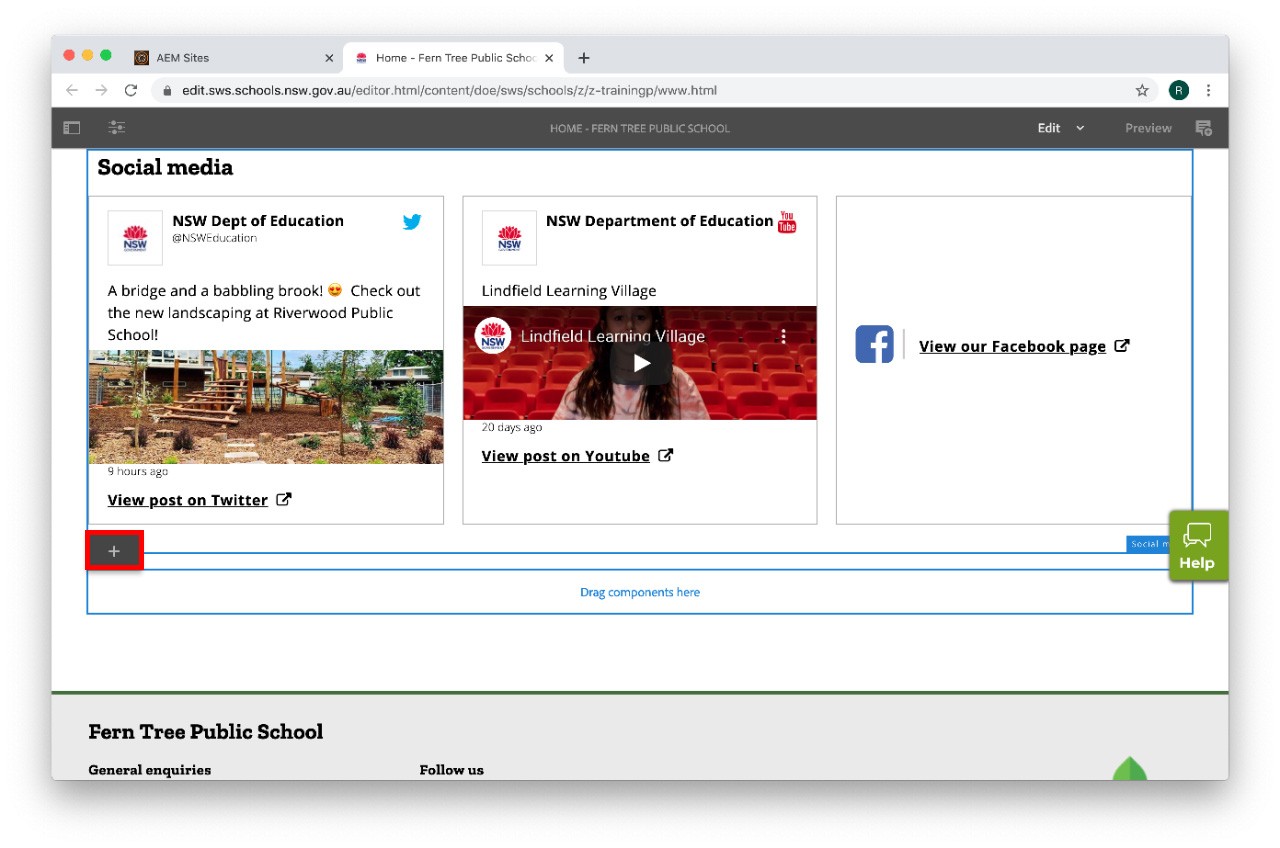
  • Select Drag components here on the bottom of the page.
  • Select Plus icon and add component.

Option 1: Add script component (for iframe embed code)

  • Select Script from the Insert New Component list.
  • Learn about using script component.

Option 2: Add rich text editor component

  • Select Rich text editor from the Insert New Component list.
  • Learn about placing hyperlinks.

Option 3: Add image component

  • Select Image from the Insert New Component list.
  • Learn about using image component and the URL field.

Publish your changes

  • For changes to be updated on your live school website you will need to publish the page.