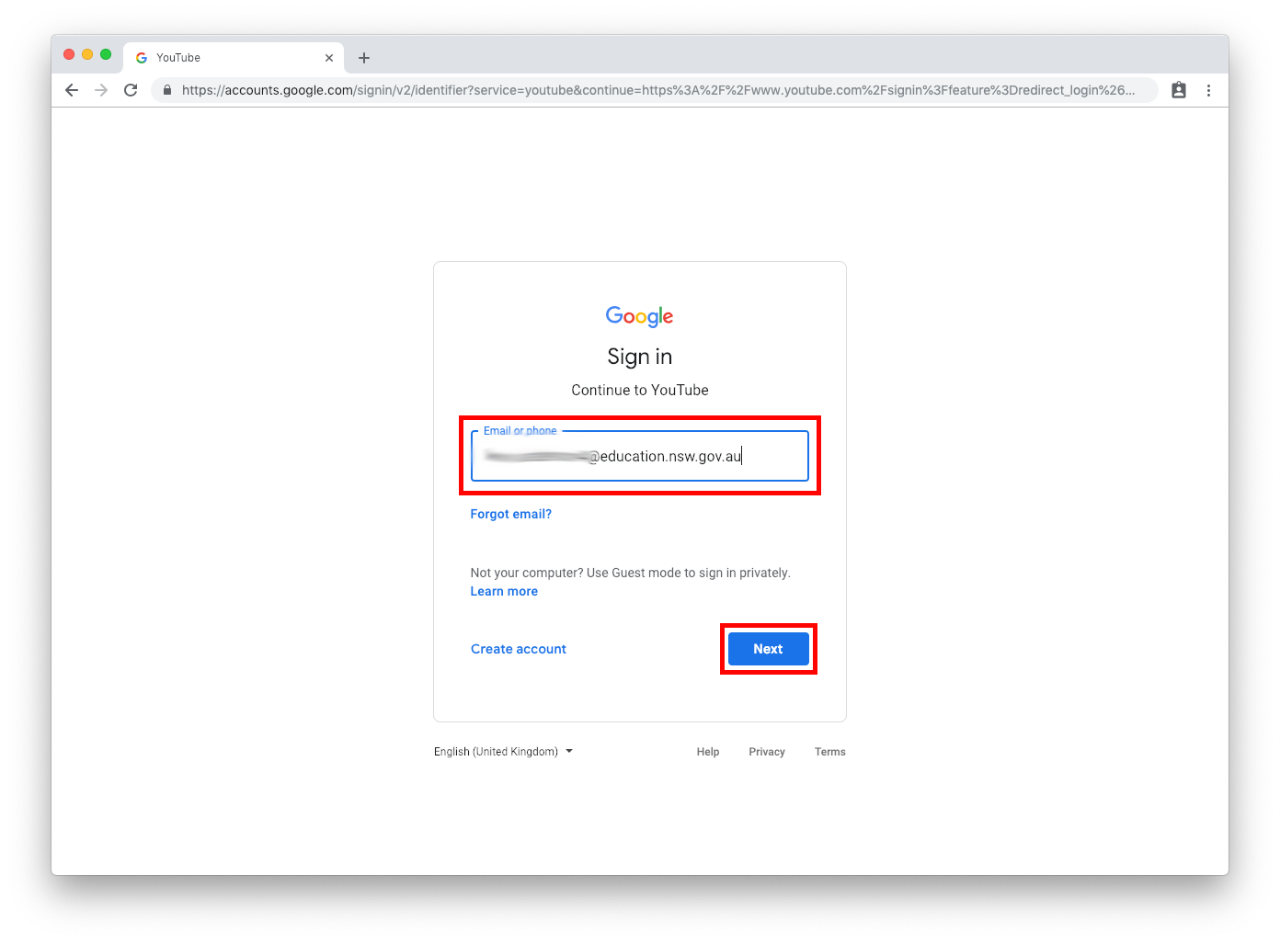
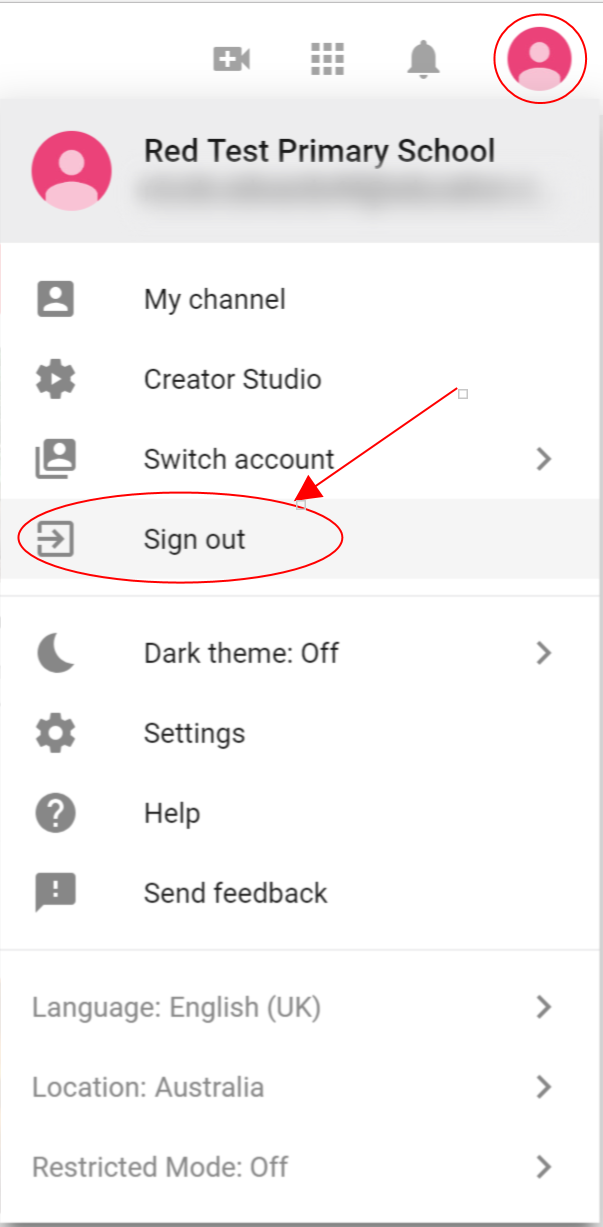
Single sign on
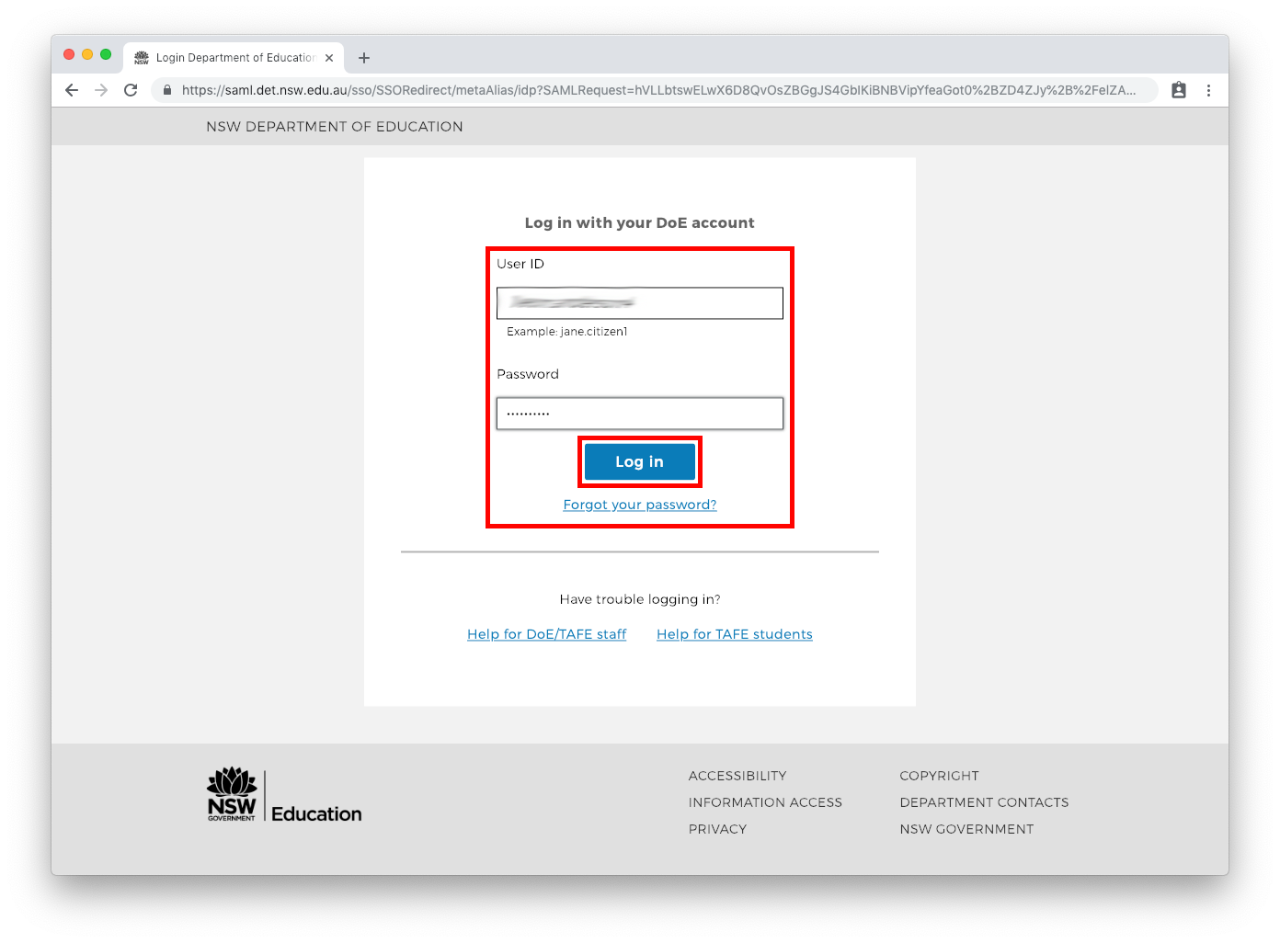
- Enter your SSO (Single Sign On) details.
- Select Log in.
Note: Use your SSO ID
eg. "Joe.Bloggs1@det.nsw.edu.au"
Create video
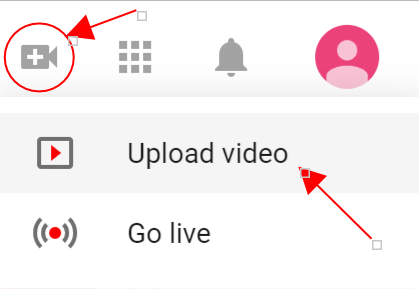
- Select Create a video or post (camera with plus icon).
- Select Upload video.
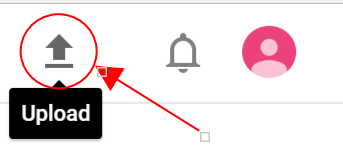
Note: If you are viewing the page on Internet Explorer, select the icon with a horizontal line with an arrow pointing upwards. This will take you to the next step.
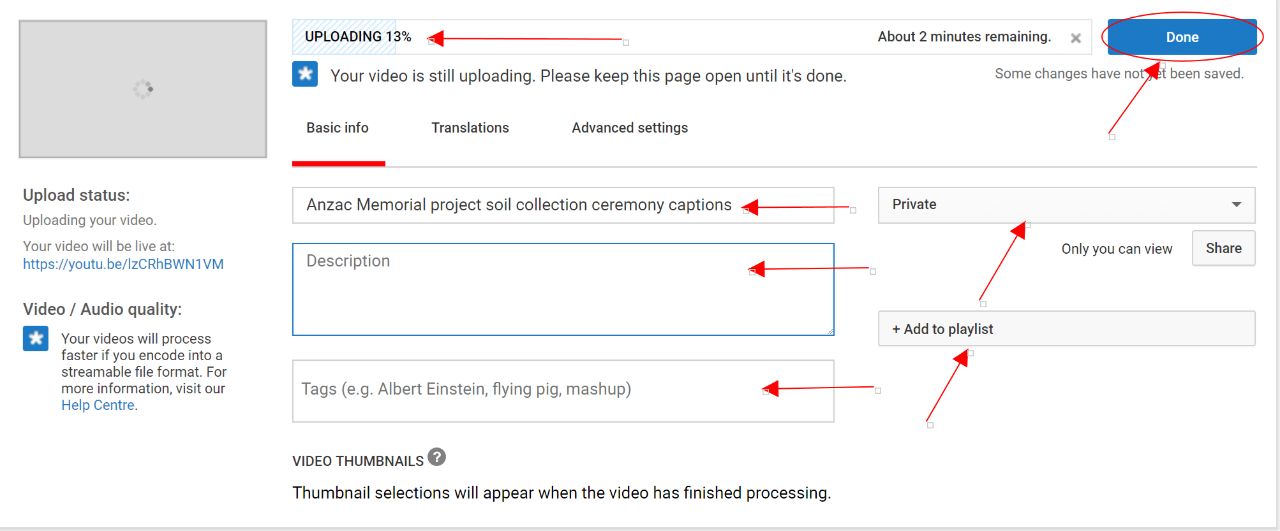
Upload video
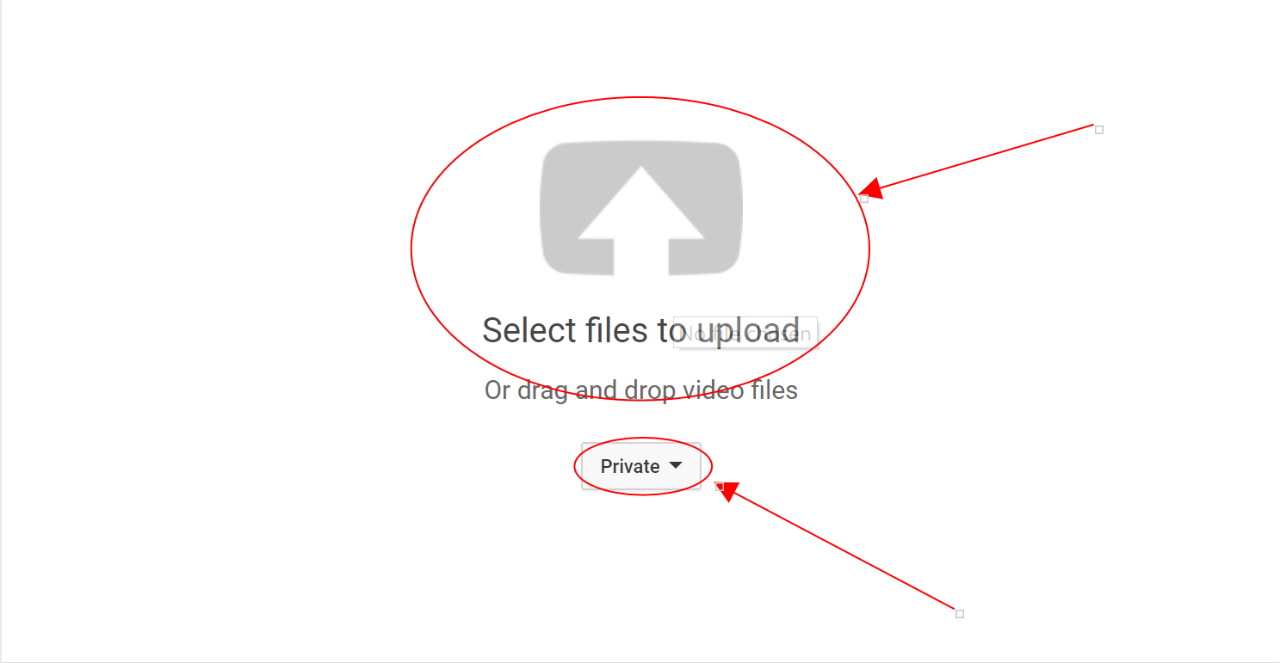
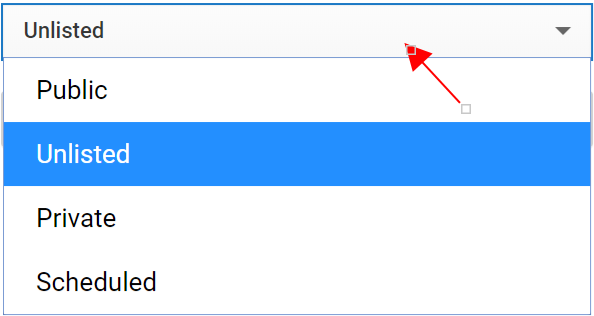
- Make sure the drop down at the bottom is set to Private.
- Click the Upload (Up arrow icon) in the centre or Drag and Drop a video to the icon to start uploading.
Note: You must set your video to private in order to prepare it with captions before you can publish it.
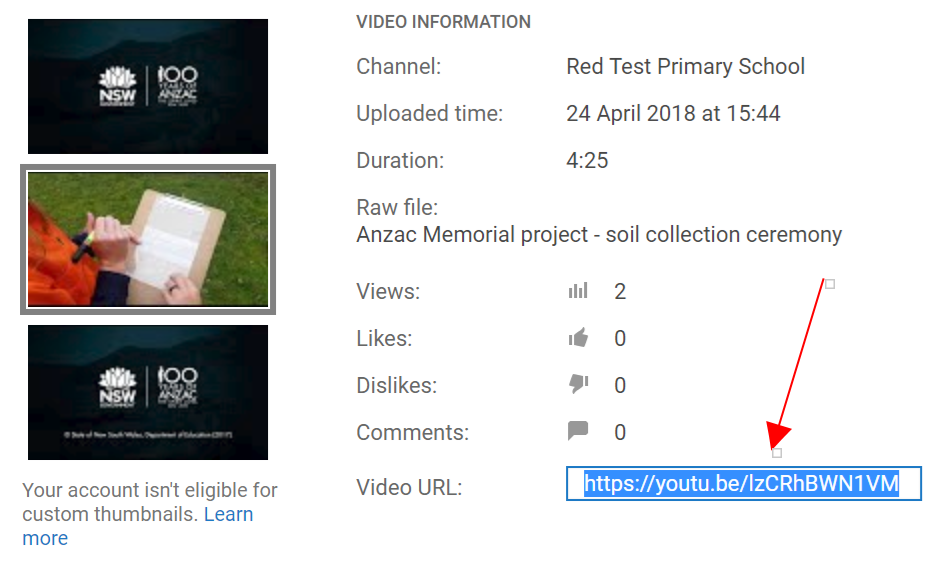
- Select 'Video Manager' then select the video you would like to add the captions to.
- Select 'Subtitles/CC'.
- Select 'English (Automatic)'.
Note: YouTube will generate Automatic captions in English. The automatically generated captions are not sufficient for accessibility purposes, but they will aid you in creating acceptable captions.
If you do not see this option, it means that the video is still generating captions. Check on the dashboard after some time has passed and you should be able to select it.
- Select the 'Edit' button above the video.
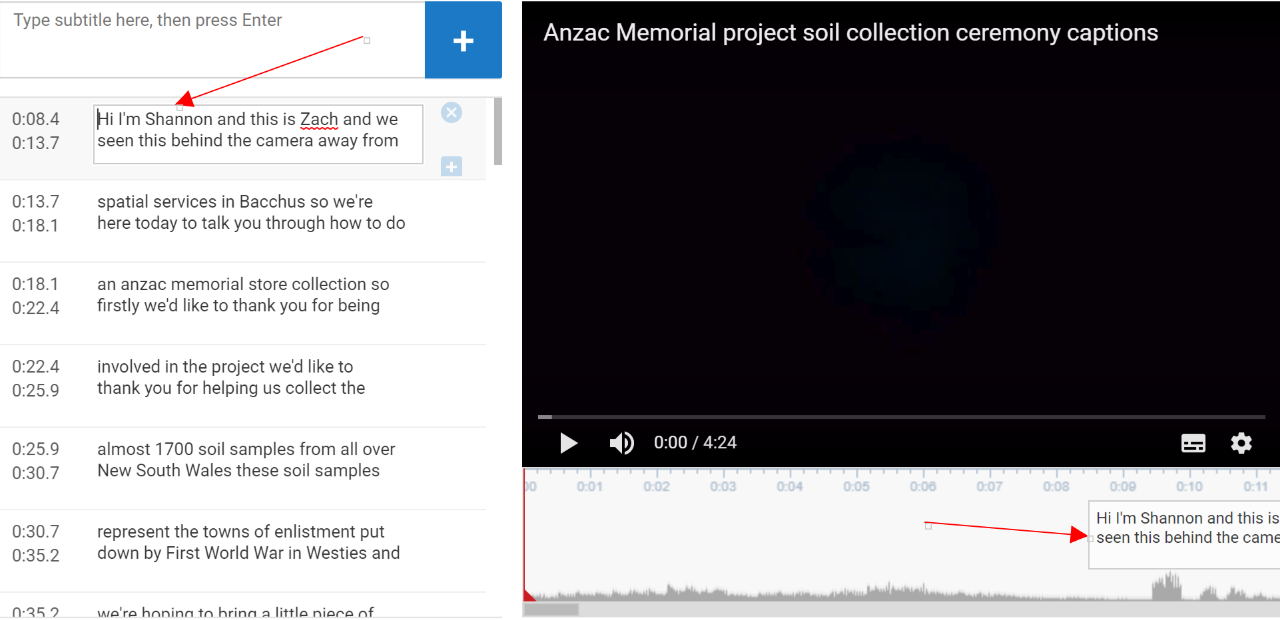
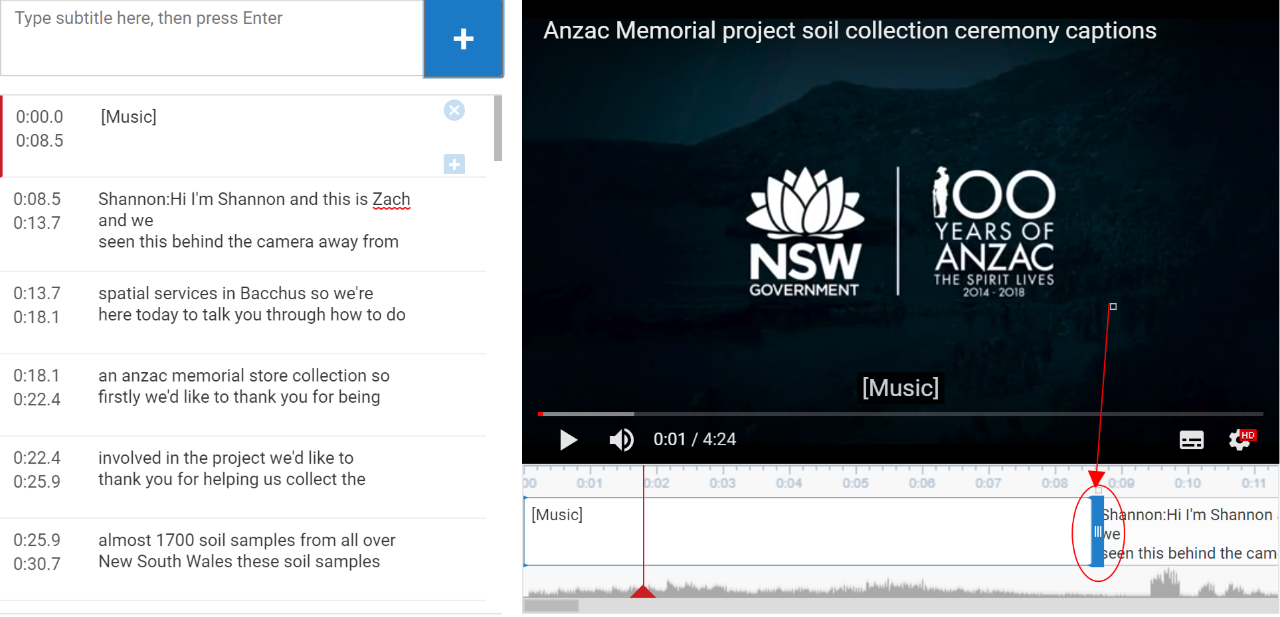
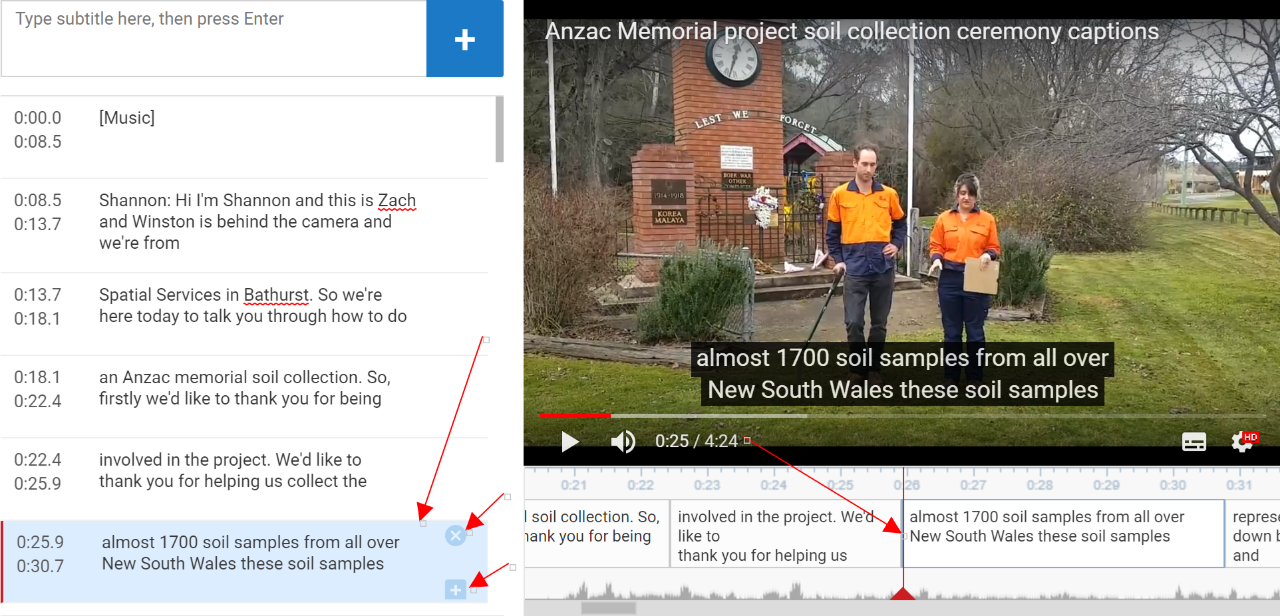
- Select the text on the left hand side to edit the existing captions.
Note: The text boxes on the left are displayed below the video representing their place on the video's timeline.
- Once you are finished editing your captions select 'Save changes' to save and close this window.
Note: This will also Publish the captions but that won't be an issue for drafting if your video is set to Private.
if you publish the captions, the newly edited captions will be saved under 'English' instead of 'English (Automatic)'.
Note: The English title no longer says Automatic

