Videos for your website are hosted in Brightcove and then you either choose them from the schools video component or take note of the account and video IDs to use the video in the hero banner component.
Login to Brightcove
If you don't have a Brightcove account you'll need to request access through your Principal.
Find your school account if it is not chosen by default
In Brightcove, look at the top right corner and check that you are in the correct school account. This should be your own school. You will see your school code and school name.
If you click on it, you will see drop down menu. Here you will see a long number underneath your school name. That number is your account ID.
If your correct school is not shown by default (if you have multiple school access), search for the account by your school name or school code and then choose it.
Upload your video
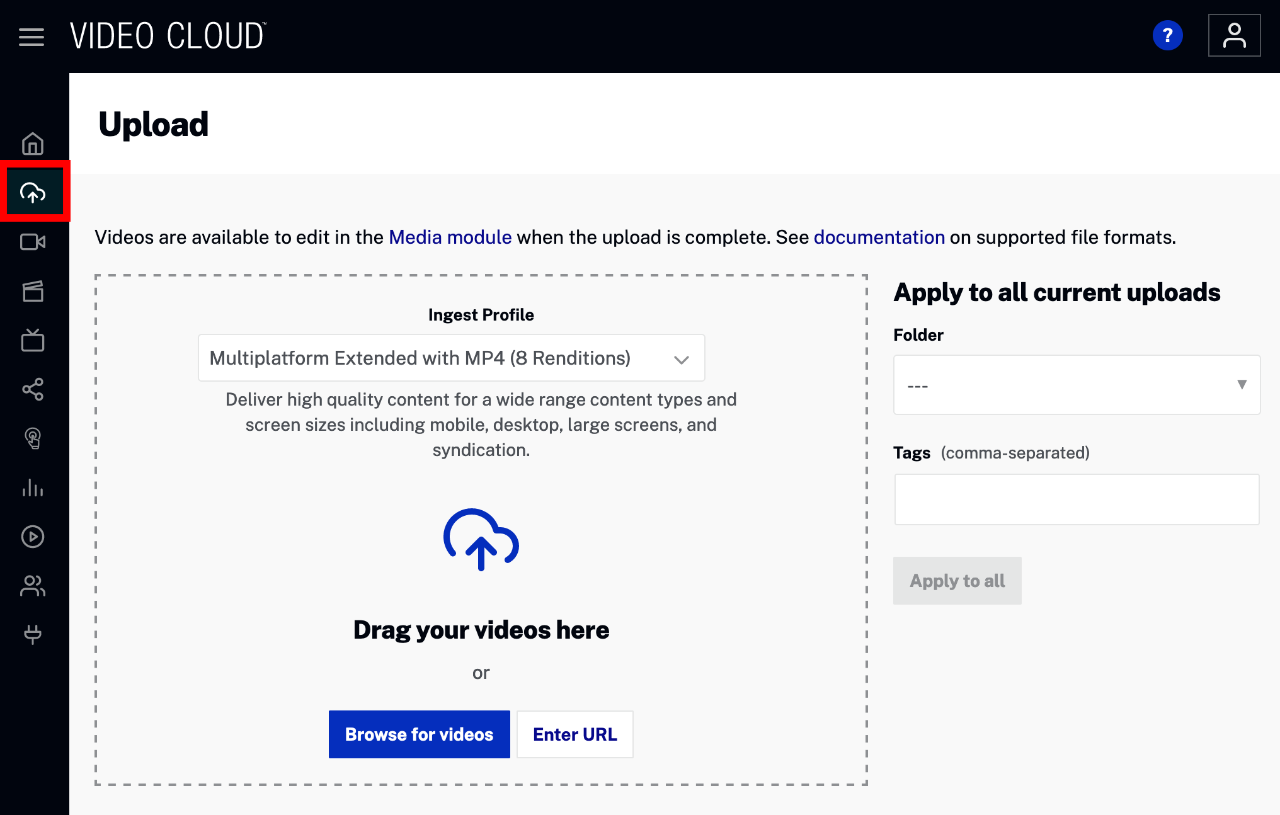
On the left side of your screen, choose the upload option. This is represented by a cloud icon with an up arrow.
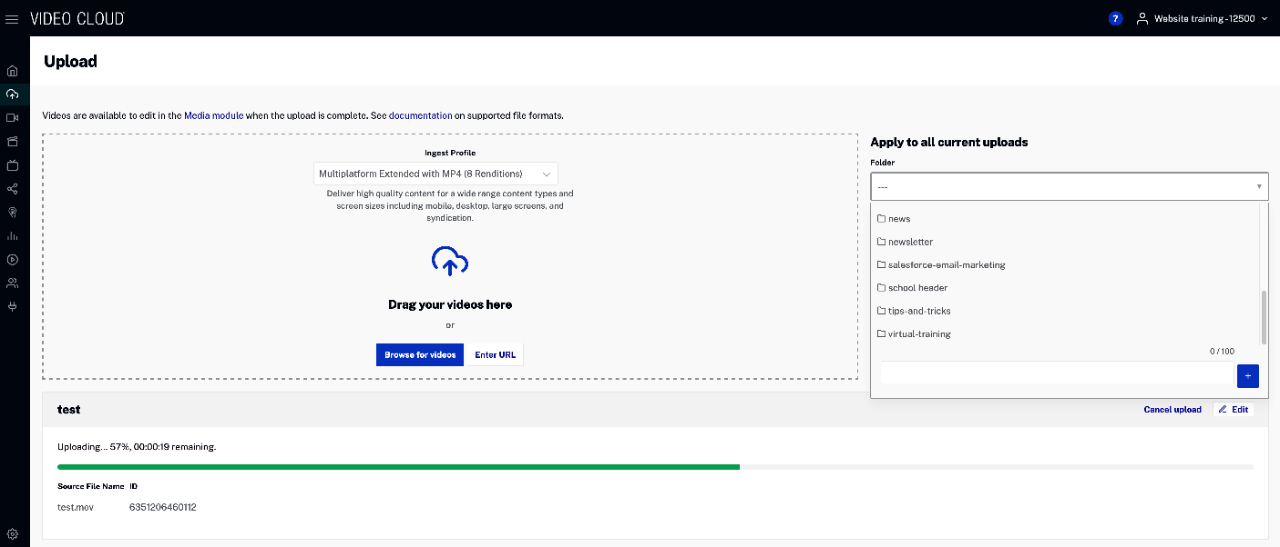
It is worth creating folders for your videos if you have many of them. That will help with keeping them in an easy to find structure.
- Choose the Multiplatform Extended with MP4 (8 renditions) Ingest profile.
- Now drag your videos into the drag and drop region or use the Browse for videos button. You can do multiple videos at a time but this might take longer to complete.
- If you don't want the video to appear in your social-media component on the website homepage, add the tag not-sws
See the Brightcove documentation link for supported file formats. When done, wait for the videos to finish processing. If your video is very large or your internet connection is slow this could take a long time.
View and edit the video details
Now that the video has completed uploading, you can click on the View and edit video details link.
You can see your source file name and the ID number provided is the video ID for this video. Keep a note of this.
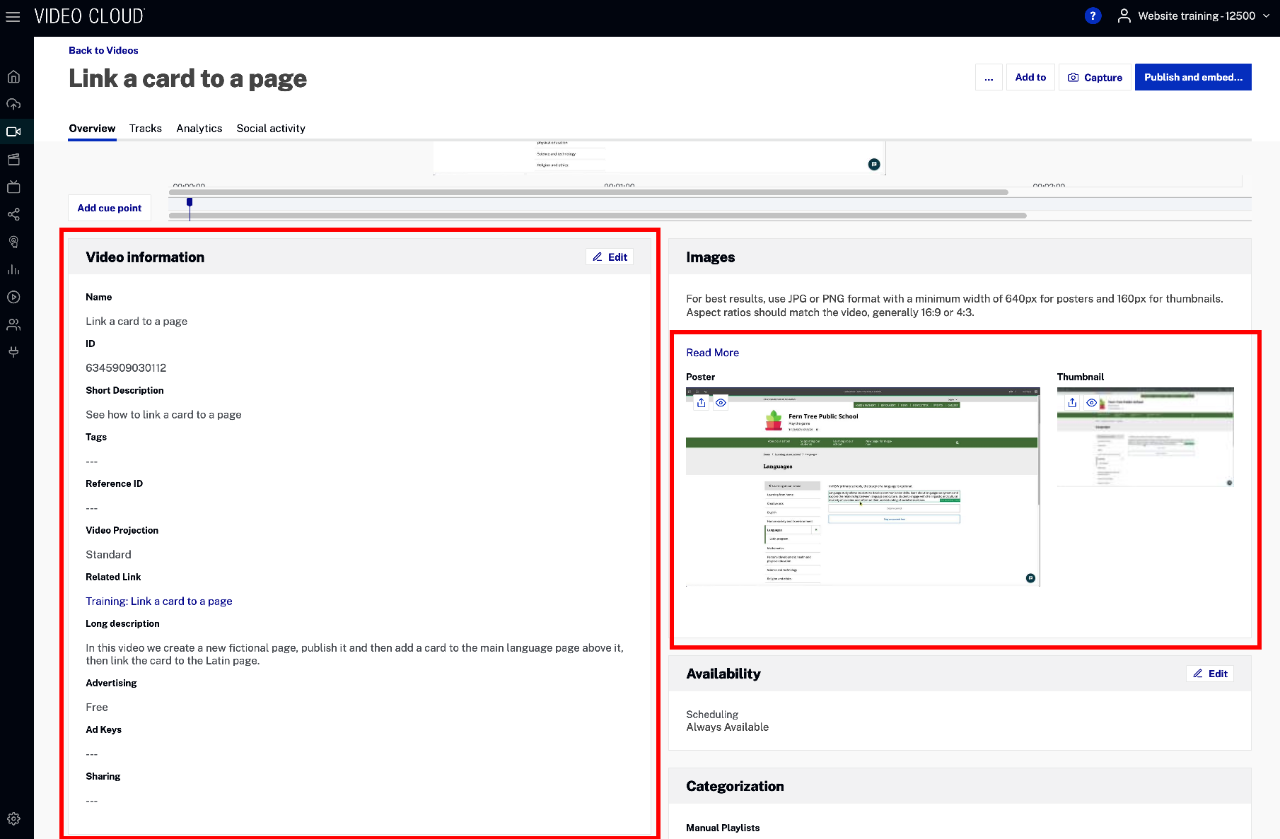
On the video details screen the Video information and Images sections are the most important parts.
The images section is where you'll add the poster and thumbnail images. The poster image is what will be displayed when the video is embedded on a page and is not yet playing. The thumbnail is the smaller version shown for thumbnail views of the video.
Upload only one image at a time for poster and thumbnail. Wait for each one to complete.
In the video information section, you edit the information about your video, such as the name, the short description, any tags you might need to add and the long description.
You only need to fill out:
- Name
- Short description
- Long description
A related link could be included but is not strictly necessary. If you missed getting the video ID before, it is found in the video information panel.
Publish and embed...
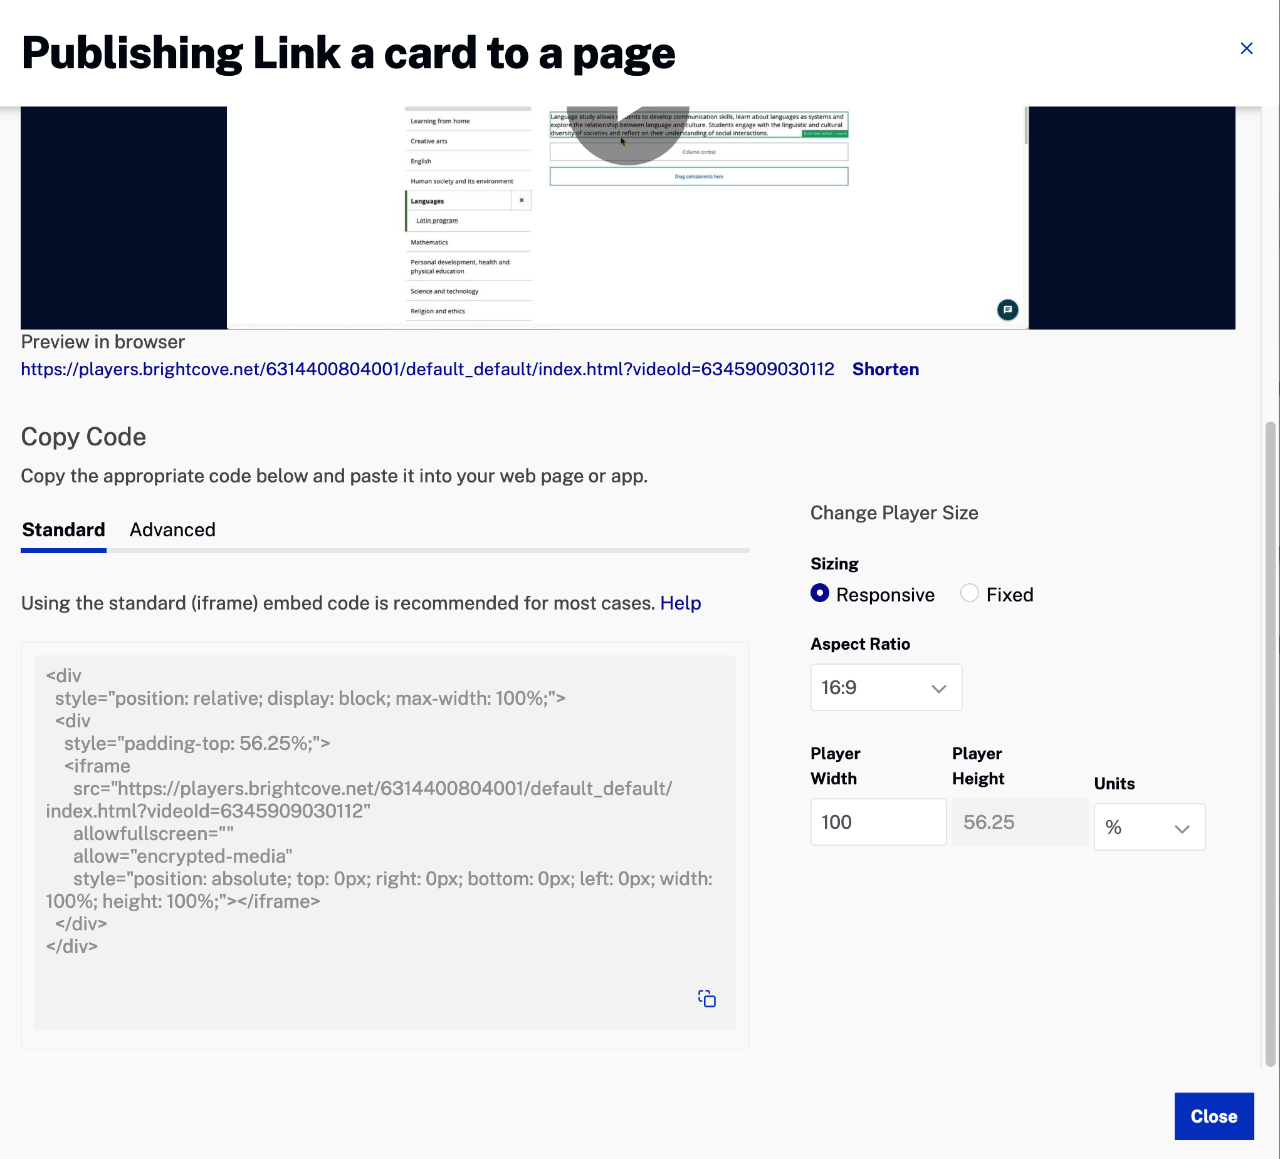
Unless you will copy and paste a custom embed code or need to share a link to your video, it is not necessary to use the publish and embed function.
You should use the standard iframe embed code and the sizing should be responsive. You can choose a different player if you have created one.
The aspect ratio should match your video (usually 16:9) and the player width should be 100 and the units per-cent.
Working with audio files in Brightcove
Brightcove can handle audio files. Please see their guide:
