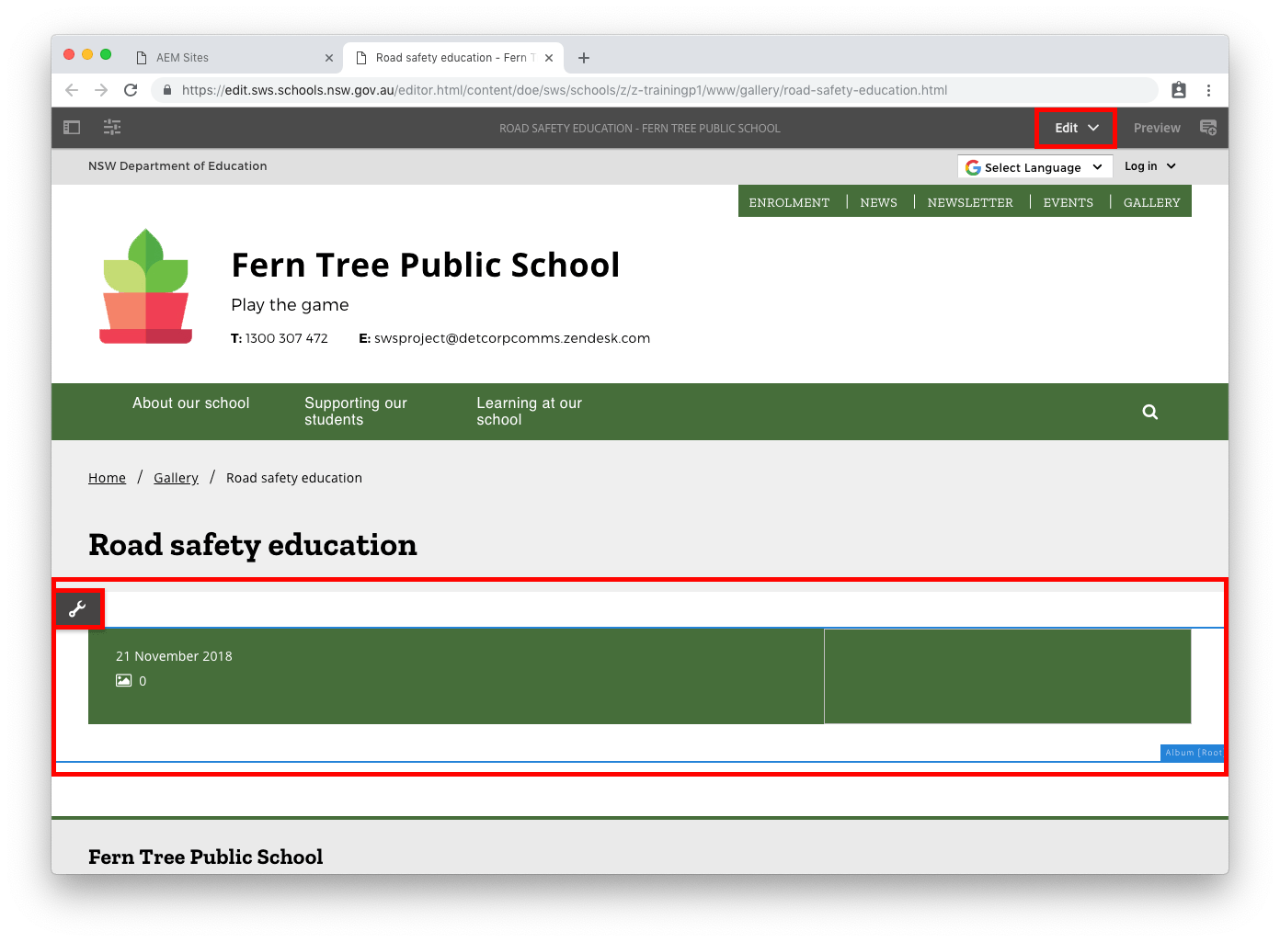
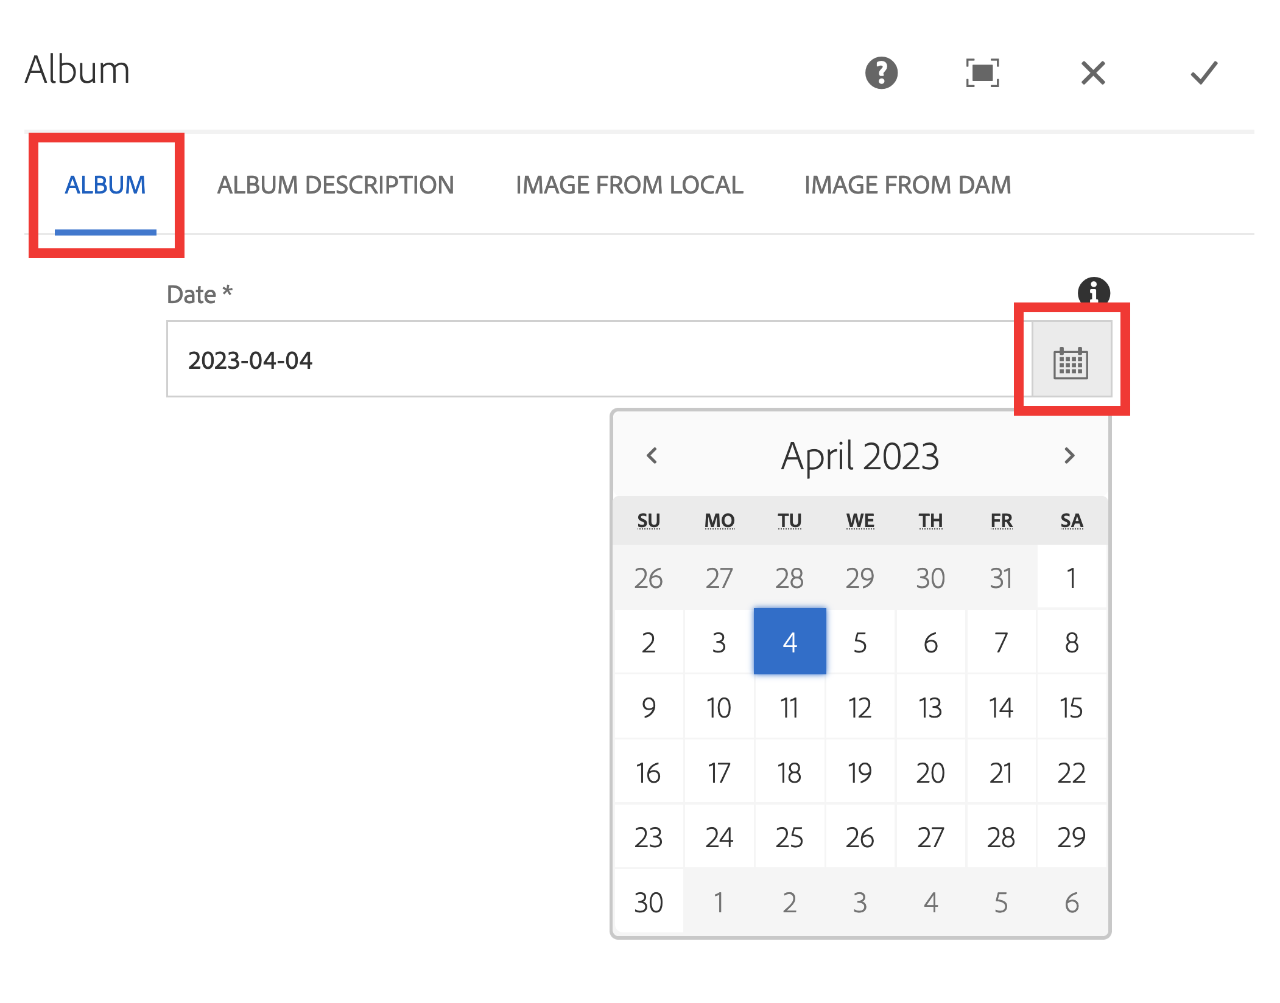
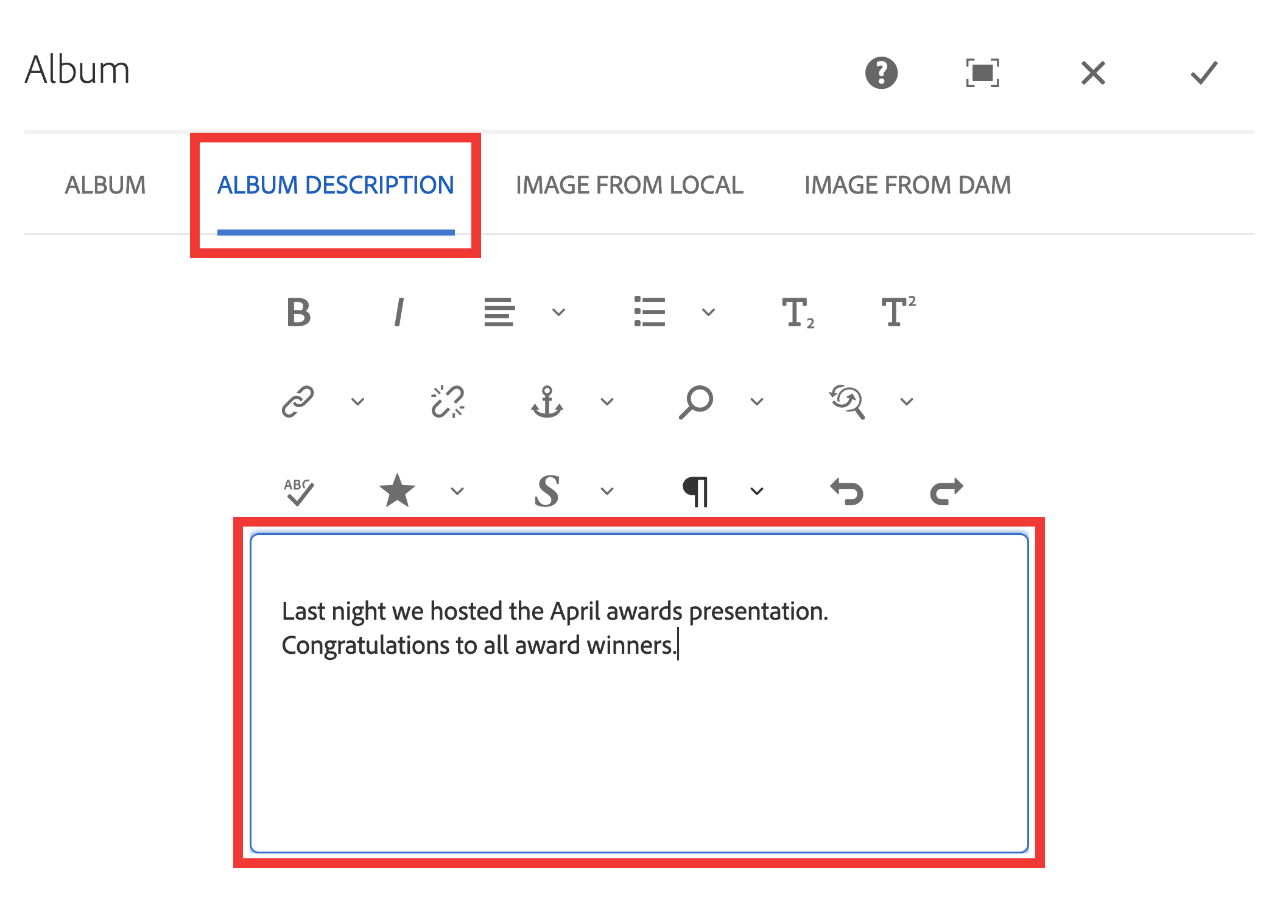
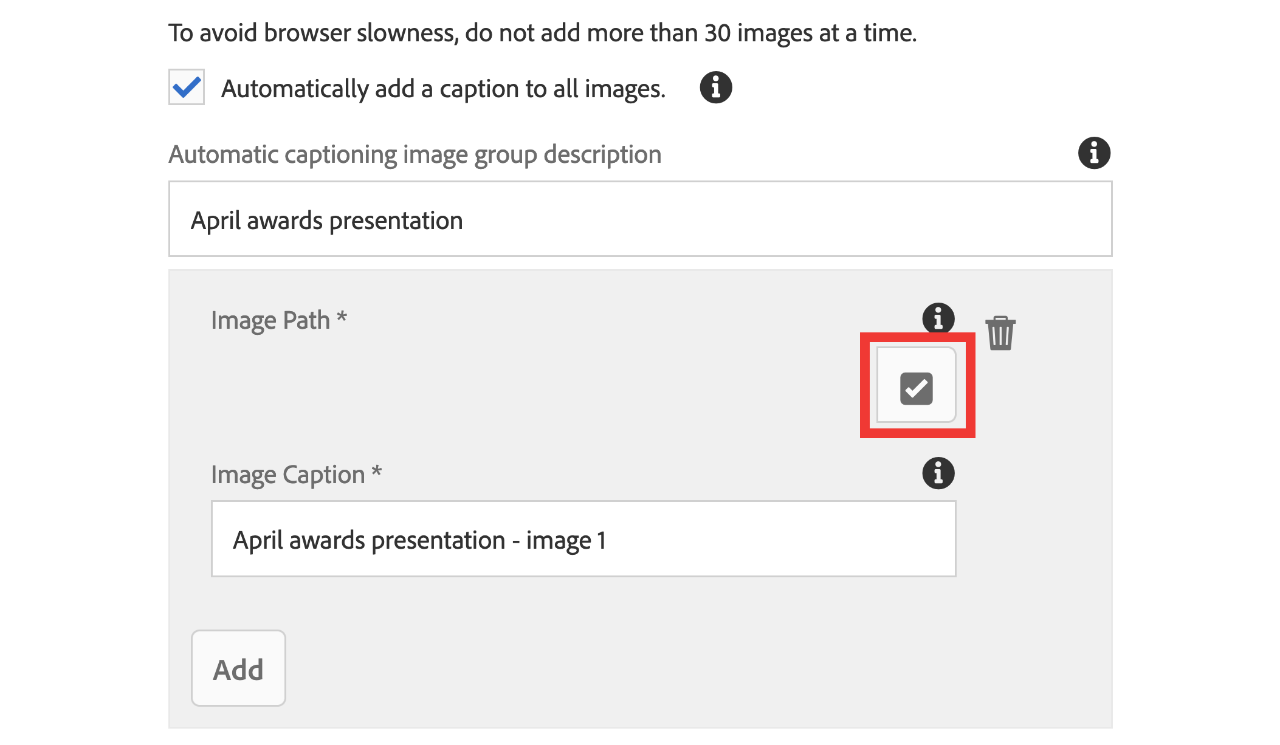
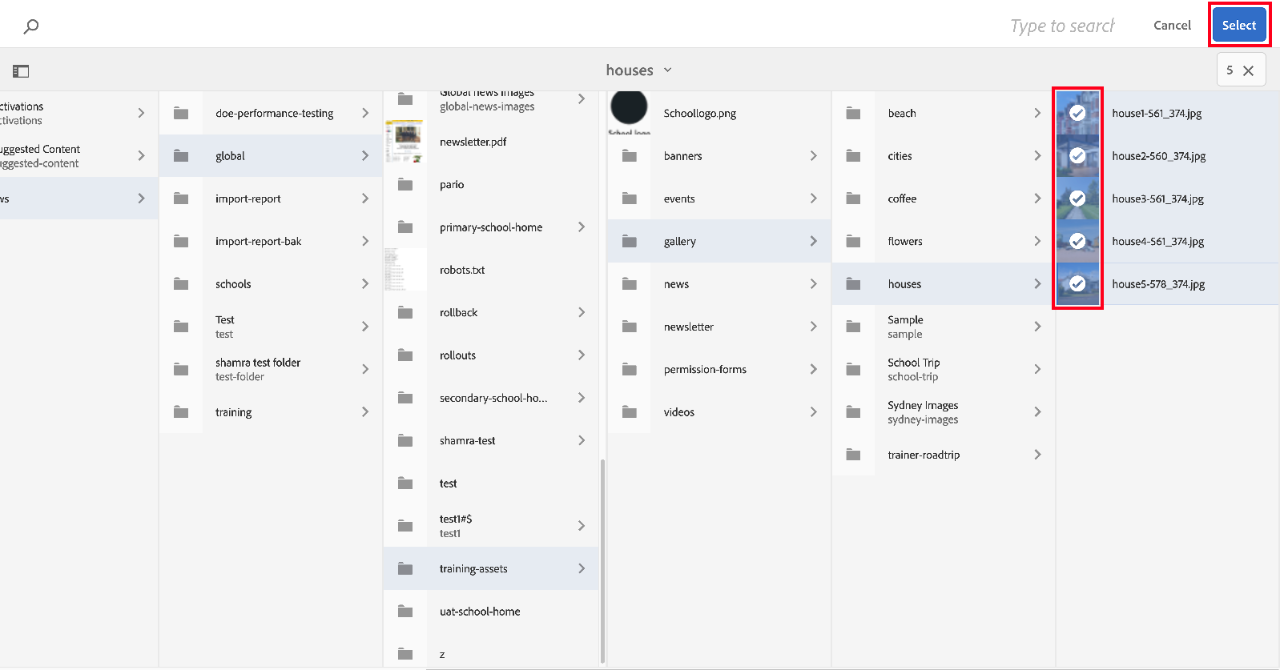
Use this guide to learn how to add an album to your school's website.
See the Albums page, for an example of:
- the homepage displaying albums within the gallery component
- the gallery page displaying the latest albums
- an album page with images
- the image carousel and navigation.
Permission to publish
It's crucial to obtain written parental permission before publicly identifying students through photographs.
Step 8: Add images to your album
A high number of photos can be overwhelming and significantly increase download time, so consider narrowing down the selection for each album to improve the overall user experience.
Consider sharing a mix of images—some on your website and others on your social media channel—to help keep the content fresh and engaging.
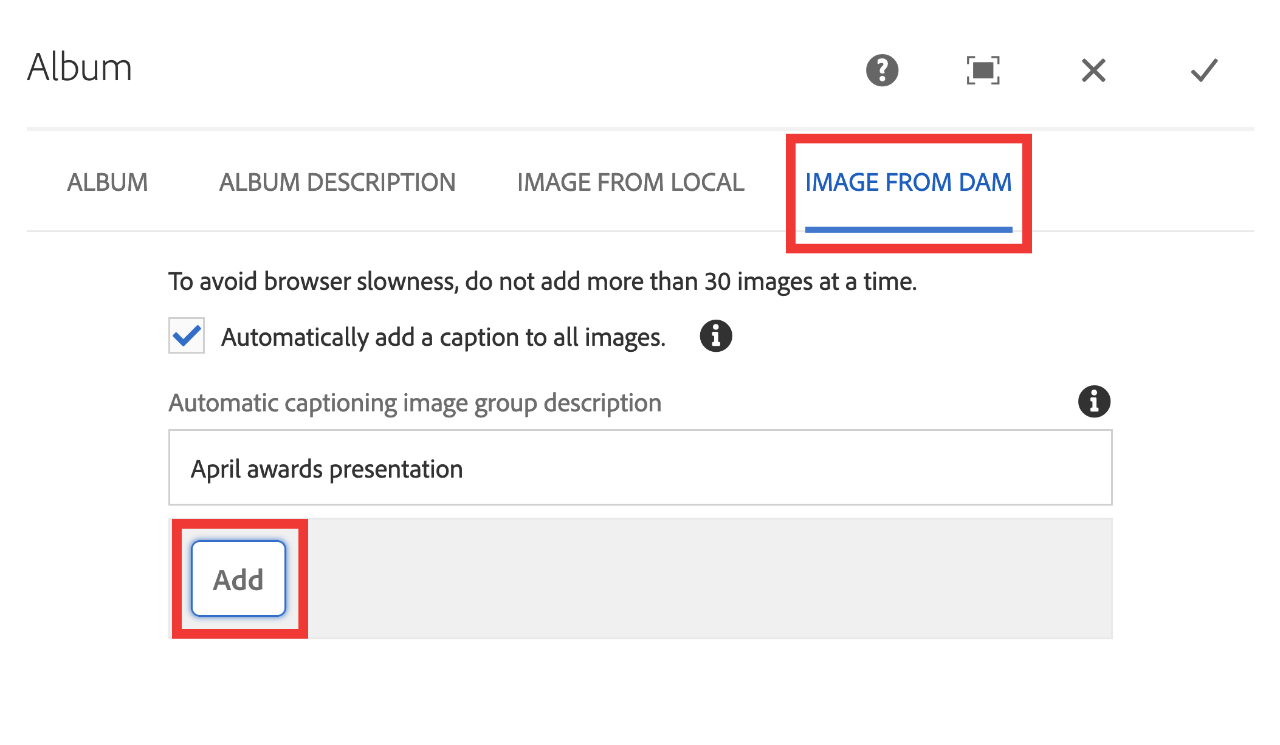
For adding images to your album you have two options:
Option 1 - Image from local (upload from your computer)
- Select the Image from local tab.
- Select your image, by using drag-and-drop or upload from your computer.
NOTE: Maximum file upload size is 15MB.
- Enter an Image caption.
NOTE: Each individual image will need alternative text. Refer to image guidelines.
- Select the Add button to insert more images.
Step 9: Thumbnail image, reorder or delete an image
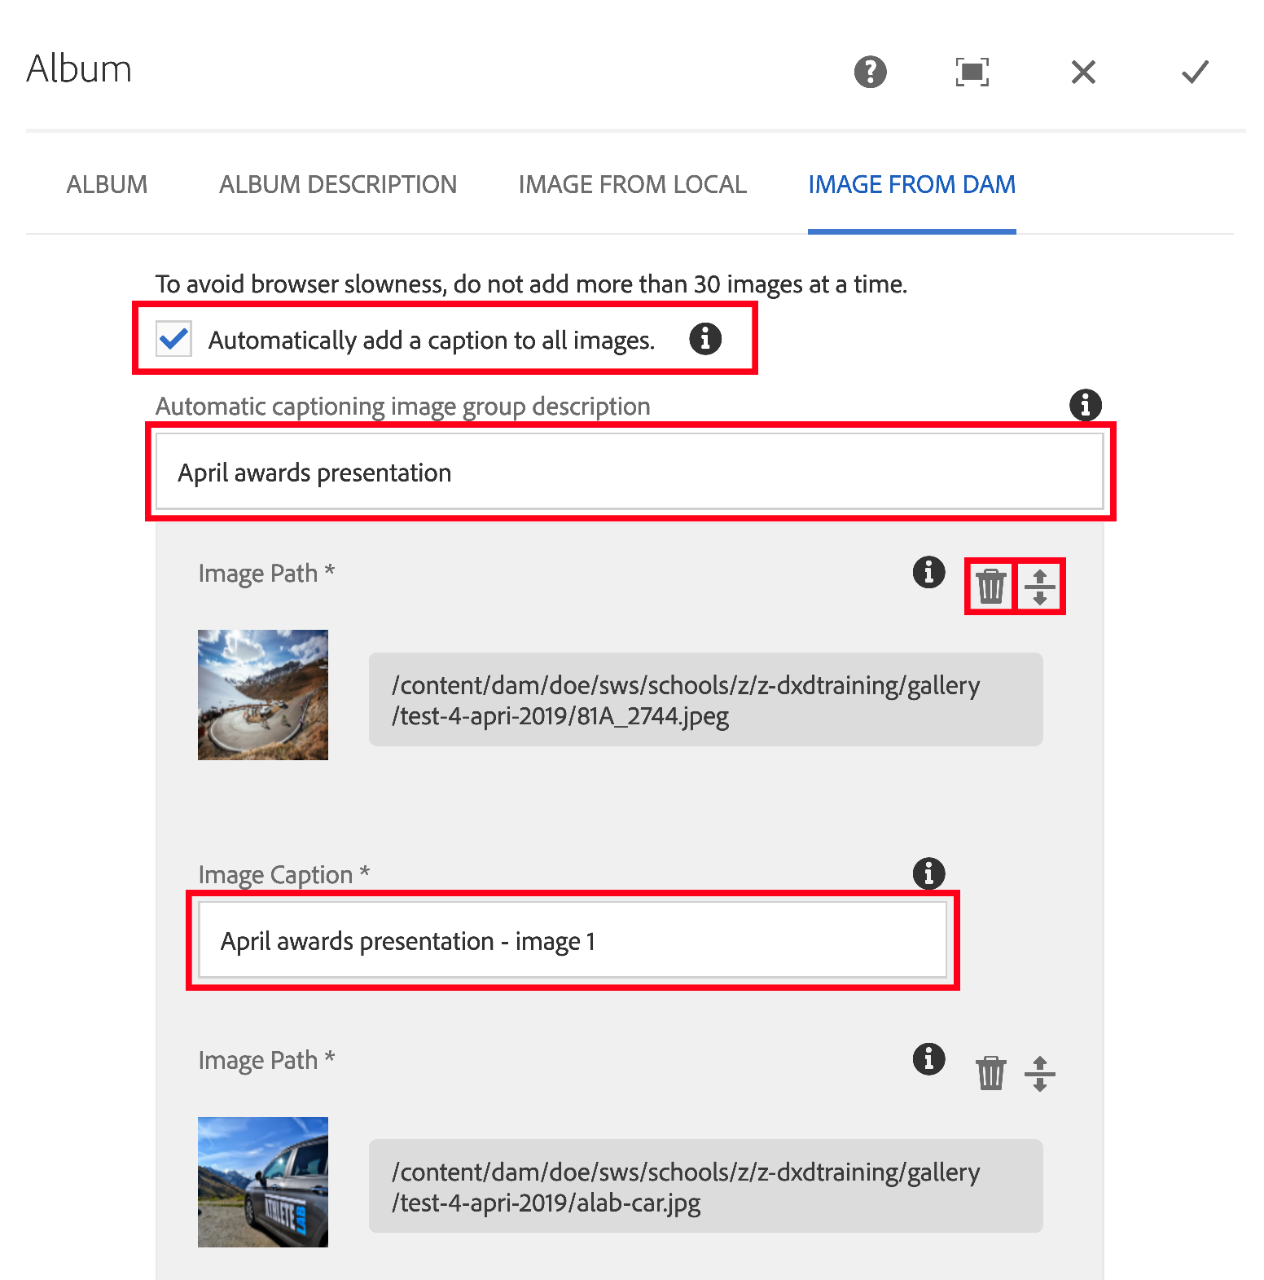
The image at the top of the list becomes the thumbnail image for the album on the gallery page and the homepage image gallery component.
- Check the image to be used as the thumbnail. We recommend selecting a landscape image.
NOTE: If you have used both options to add images, the top image under 'Image from DAM' will be used as the thumbnail.
- To reorder your images, select the arrows and line icon (to the right of the bin icon) to drag-and-drop each image.
TIP: Use Toggle fullscreen to expand the view.
- To delete an image, select the bin icon.
- Select the tick on the top right of the pop-up to save the settings.
NOTE: It can take up to a minute for images to appear or disappear from the album.
Step 10: Publish the album
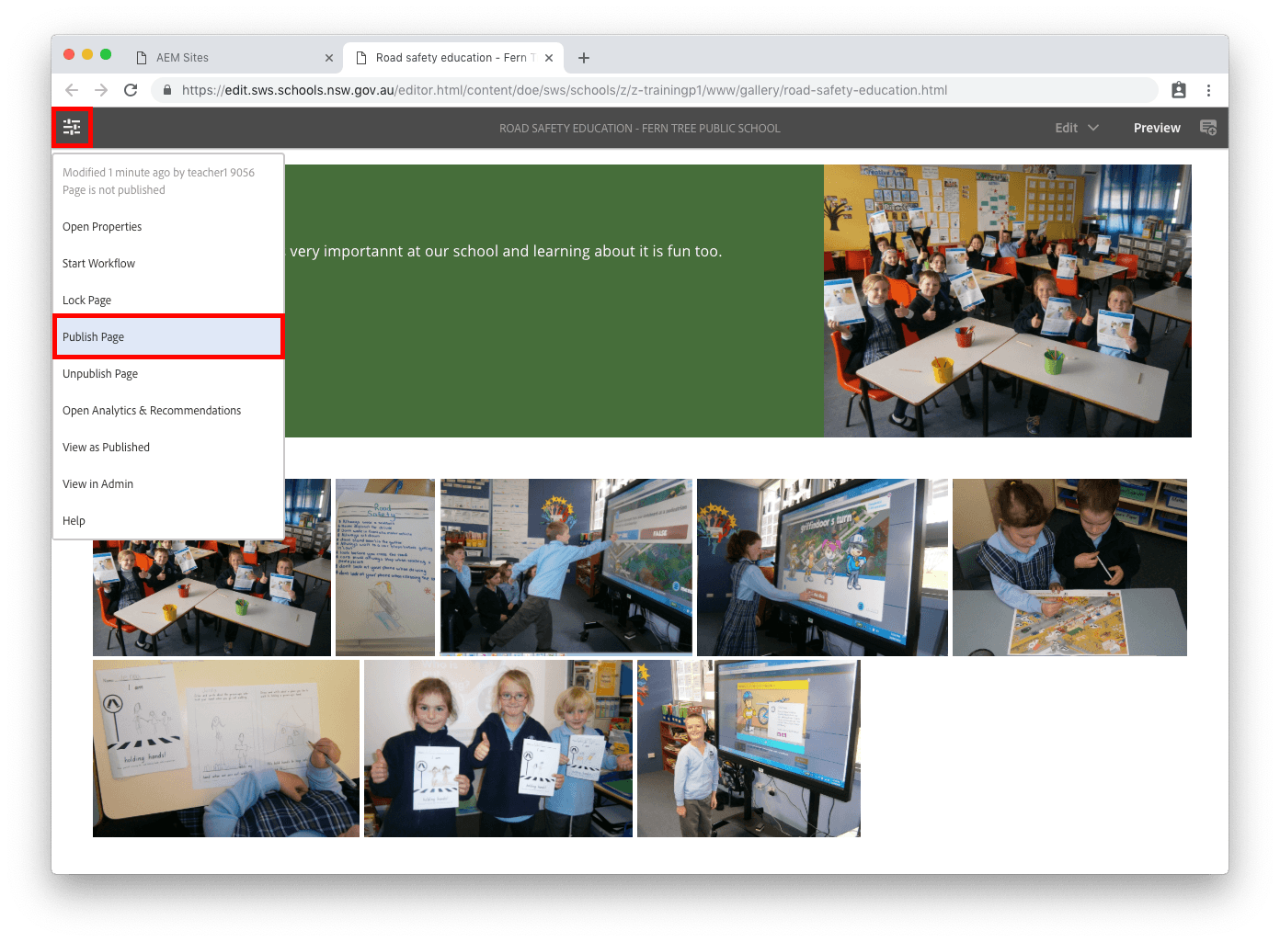
For changes to be updated on your live school website you will need to publish.
- Select the slider icon in the top left corner. This is the Page Information button.
- Select Publish Page from the drop-down.
- If you don't see Publish Page you are an Author and will need to select Start Workflow instead. Go to our Author publish a page for more information.
